Great audio engages and retains viewers better. But how do you even record something crisp and clean in a noisy environment with a cheap microphone? Luckily, there’s a one-click solution that won’t require you to switch places or invest in a professional-grade microphone: VEED’s Clean Audio tool. Whether you're a podcaster or a YouTuber, today we're showing you how you can get perfectly clear audio in a single click — after you’re done filming — using VEED.
Quick 5-Step Summary
- Upload your video to VEED
- Click on your video in the timeline
- Click on the Clean Audio button
- Edit your video some more if you want
- Export, download, and enjoy

Why Clean the Audio in Your Video with VEED
It only takes 5 simple steps to remove any unwanted sounds in your video with VEED, and the end-results are SO worth it. Take it from one of users, who absolutely loves this feature.
Thanks to VEED’s Clean Audio tool, you will:
- Appear More Professional: Amp up the production value and overall quality of your video with clean and crisp audio.
- Maintain the Attention of Your Viewers: Don’t let the sounds of car honks, wind, and your dog barking overpower your voice and distract your viewers. Make sure that you’re being intelligible and maintaining the attention of your audience.
- Save Time: Say goodbye to double-takes due to loud background sounds. Record once and simply remove the distracting noise later with VEED.
How to Remove Background Sound from Video Online with VEED
1. Go to VEED and Upload Your Video
Head over to VEED and click on Login. If you don’t already have an account, then click on the Sign Up button to create a free or paid account.
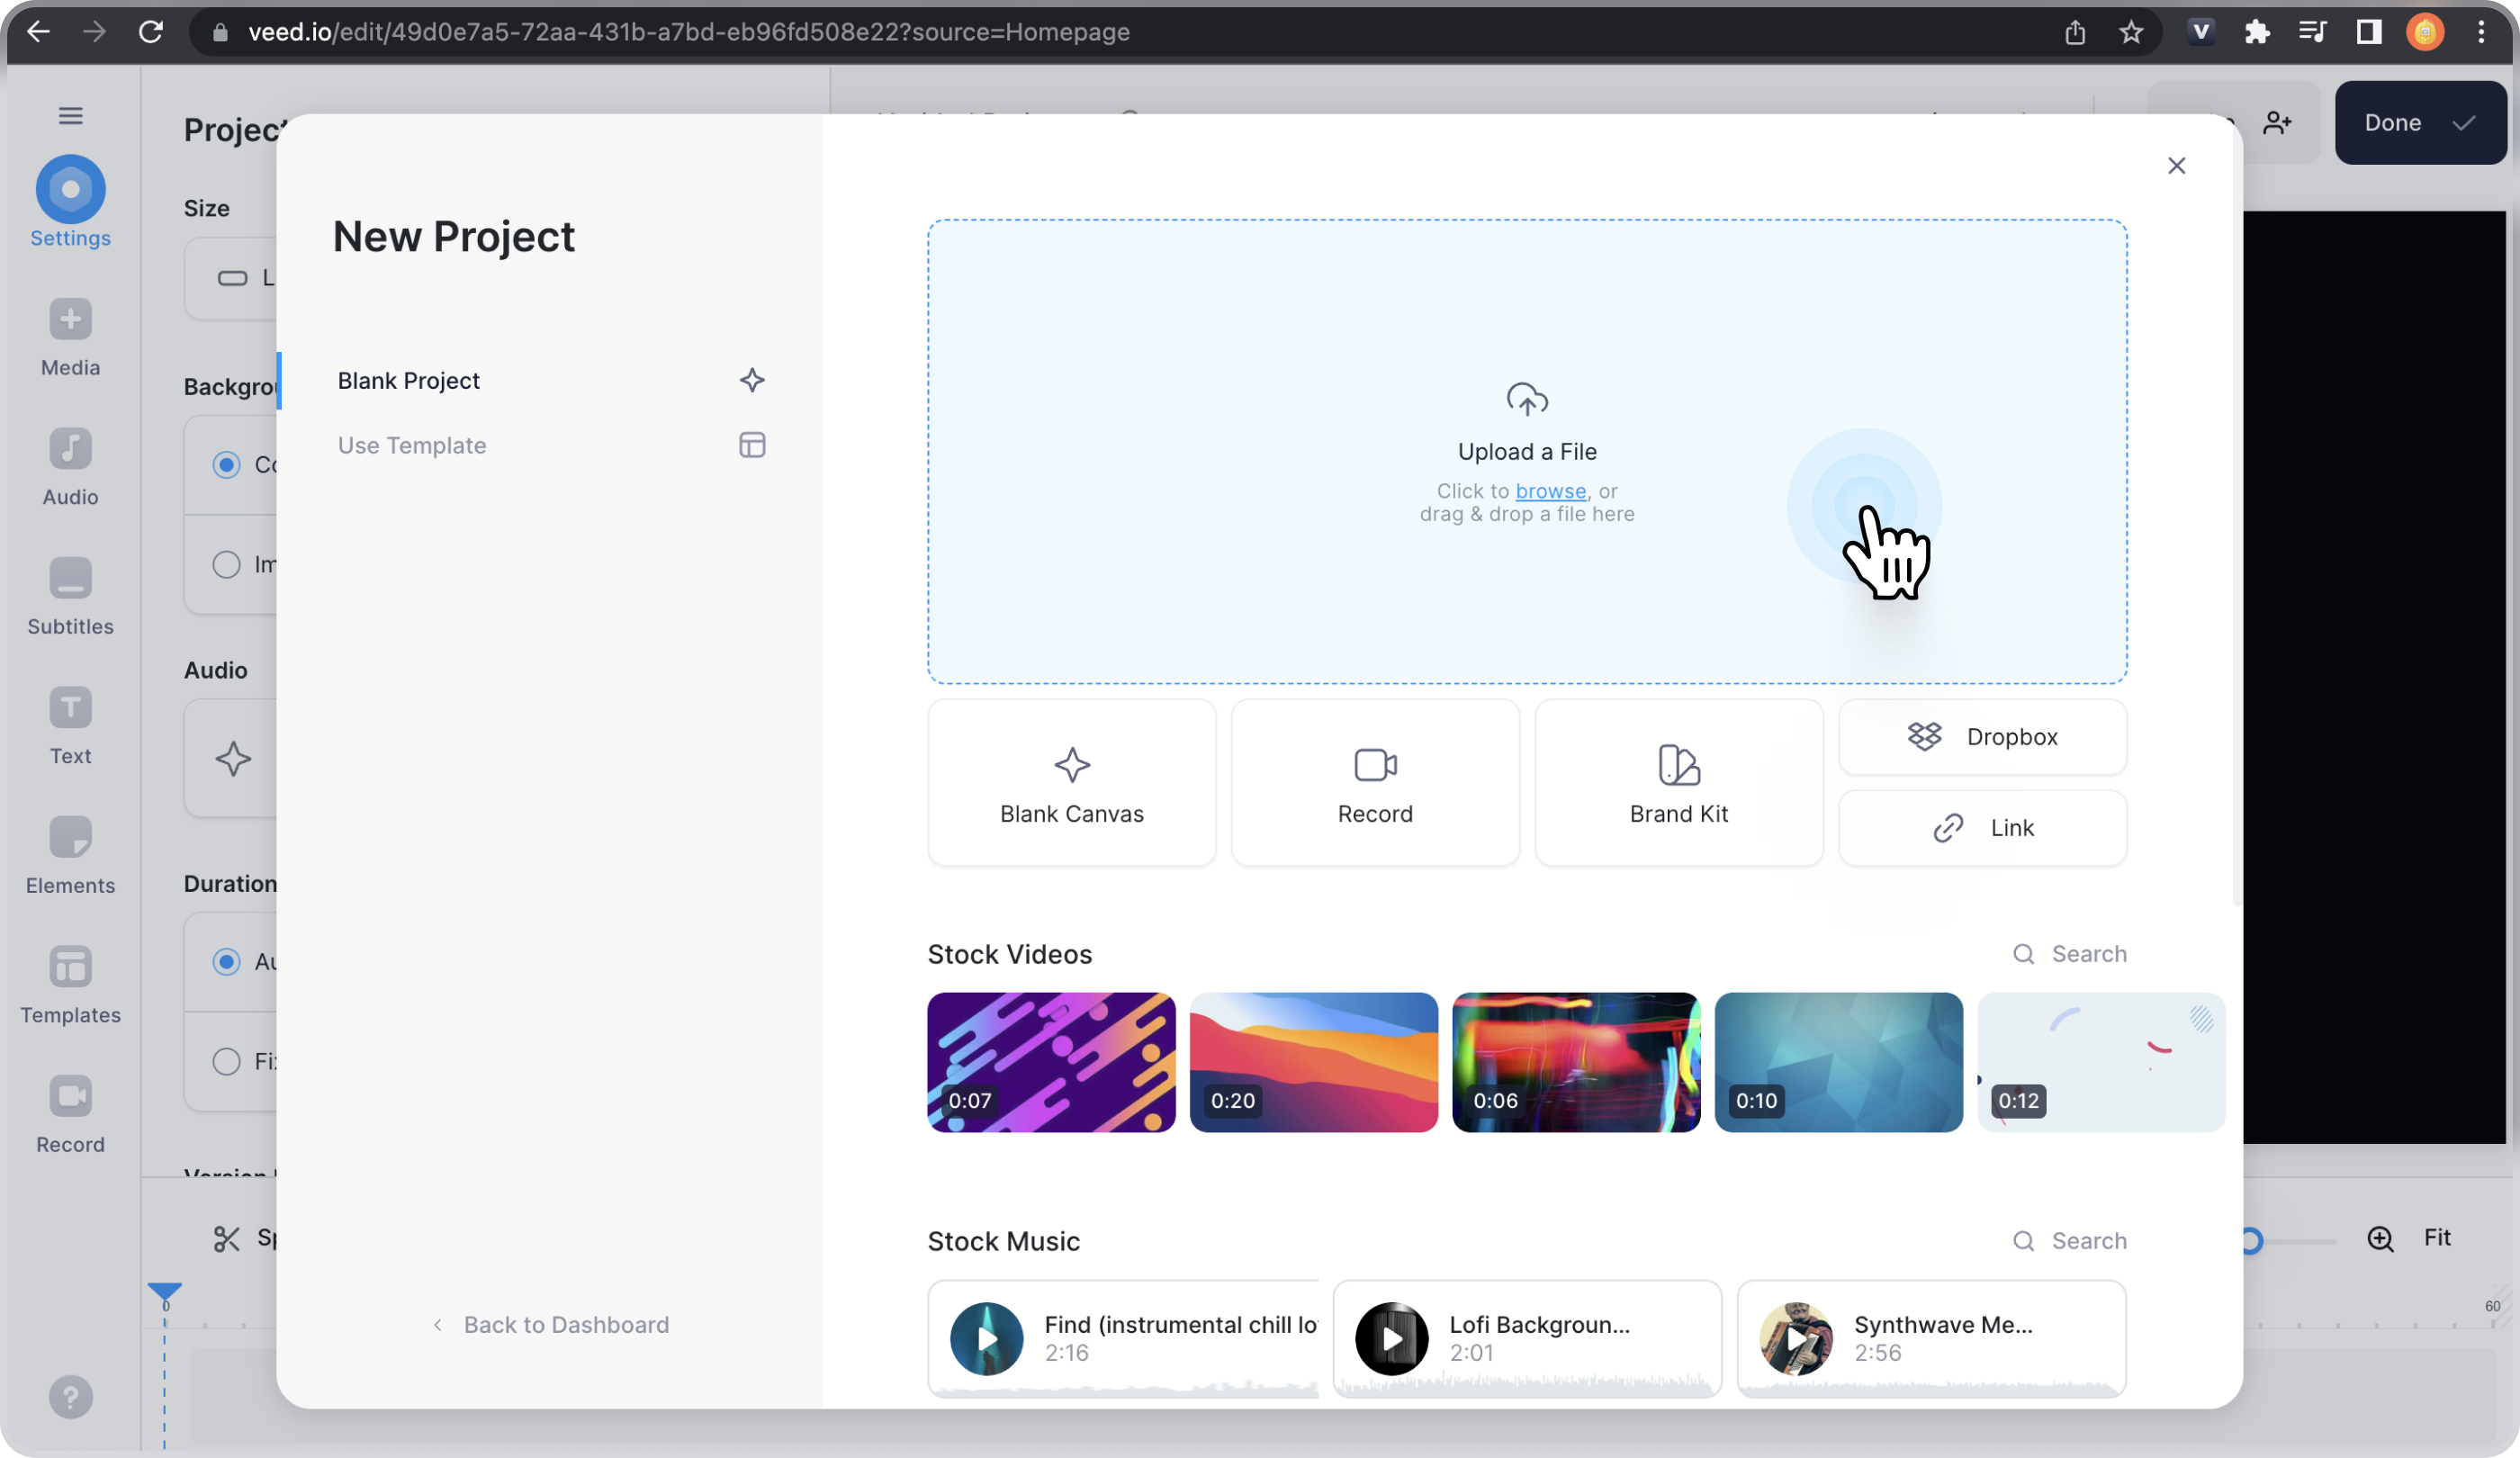
Once you log in to VEED, you’ll be taken to your workspace where you can start cleaning audio from your video. First, click on Create Project and upload the video you want to reduce background noise from.

- Upload a pre-recorded video from your device or from cloud
Simply click on browse to upload a pre-recorded video from your device, or drag and drop a file in the dedicated section.

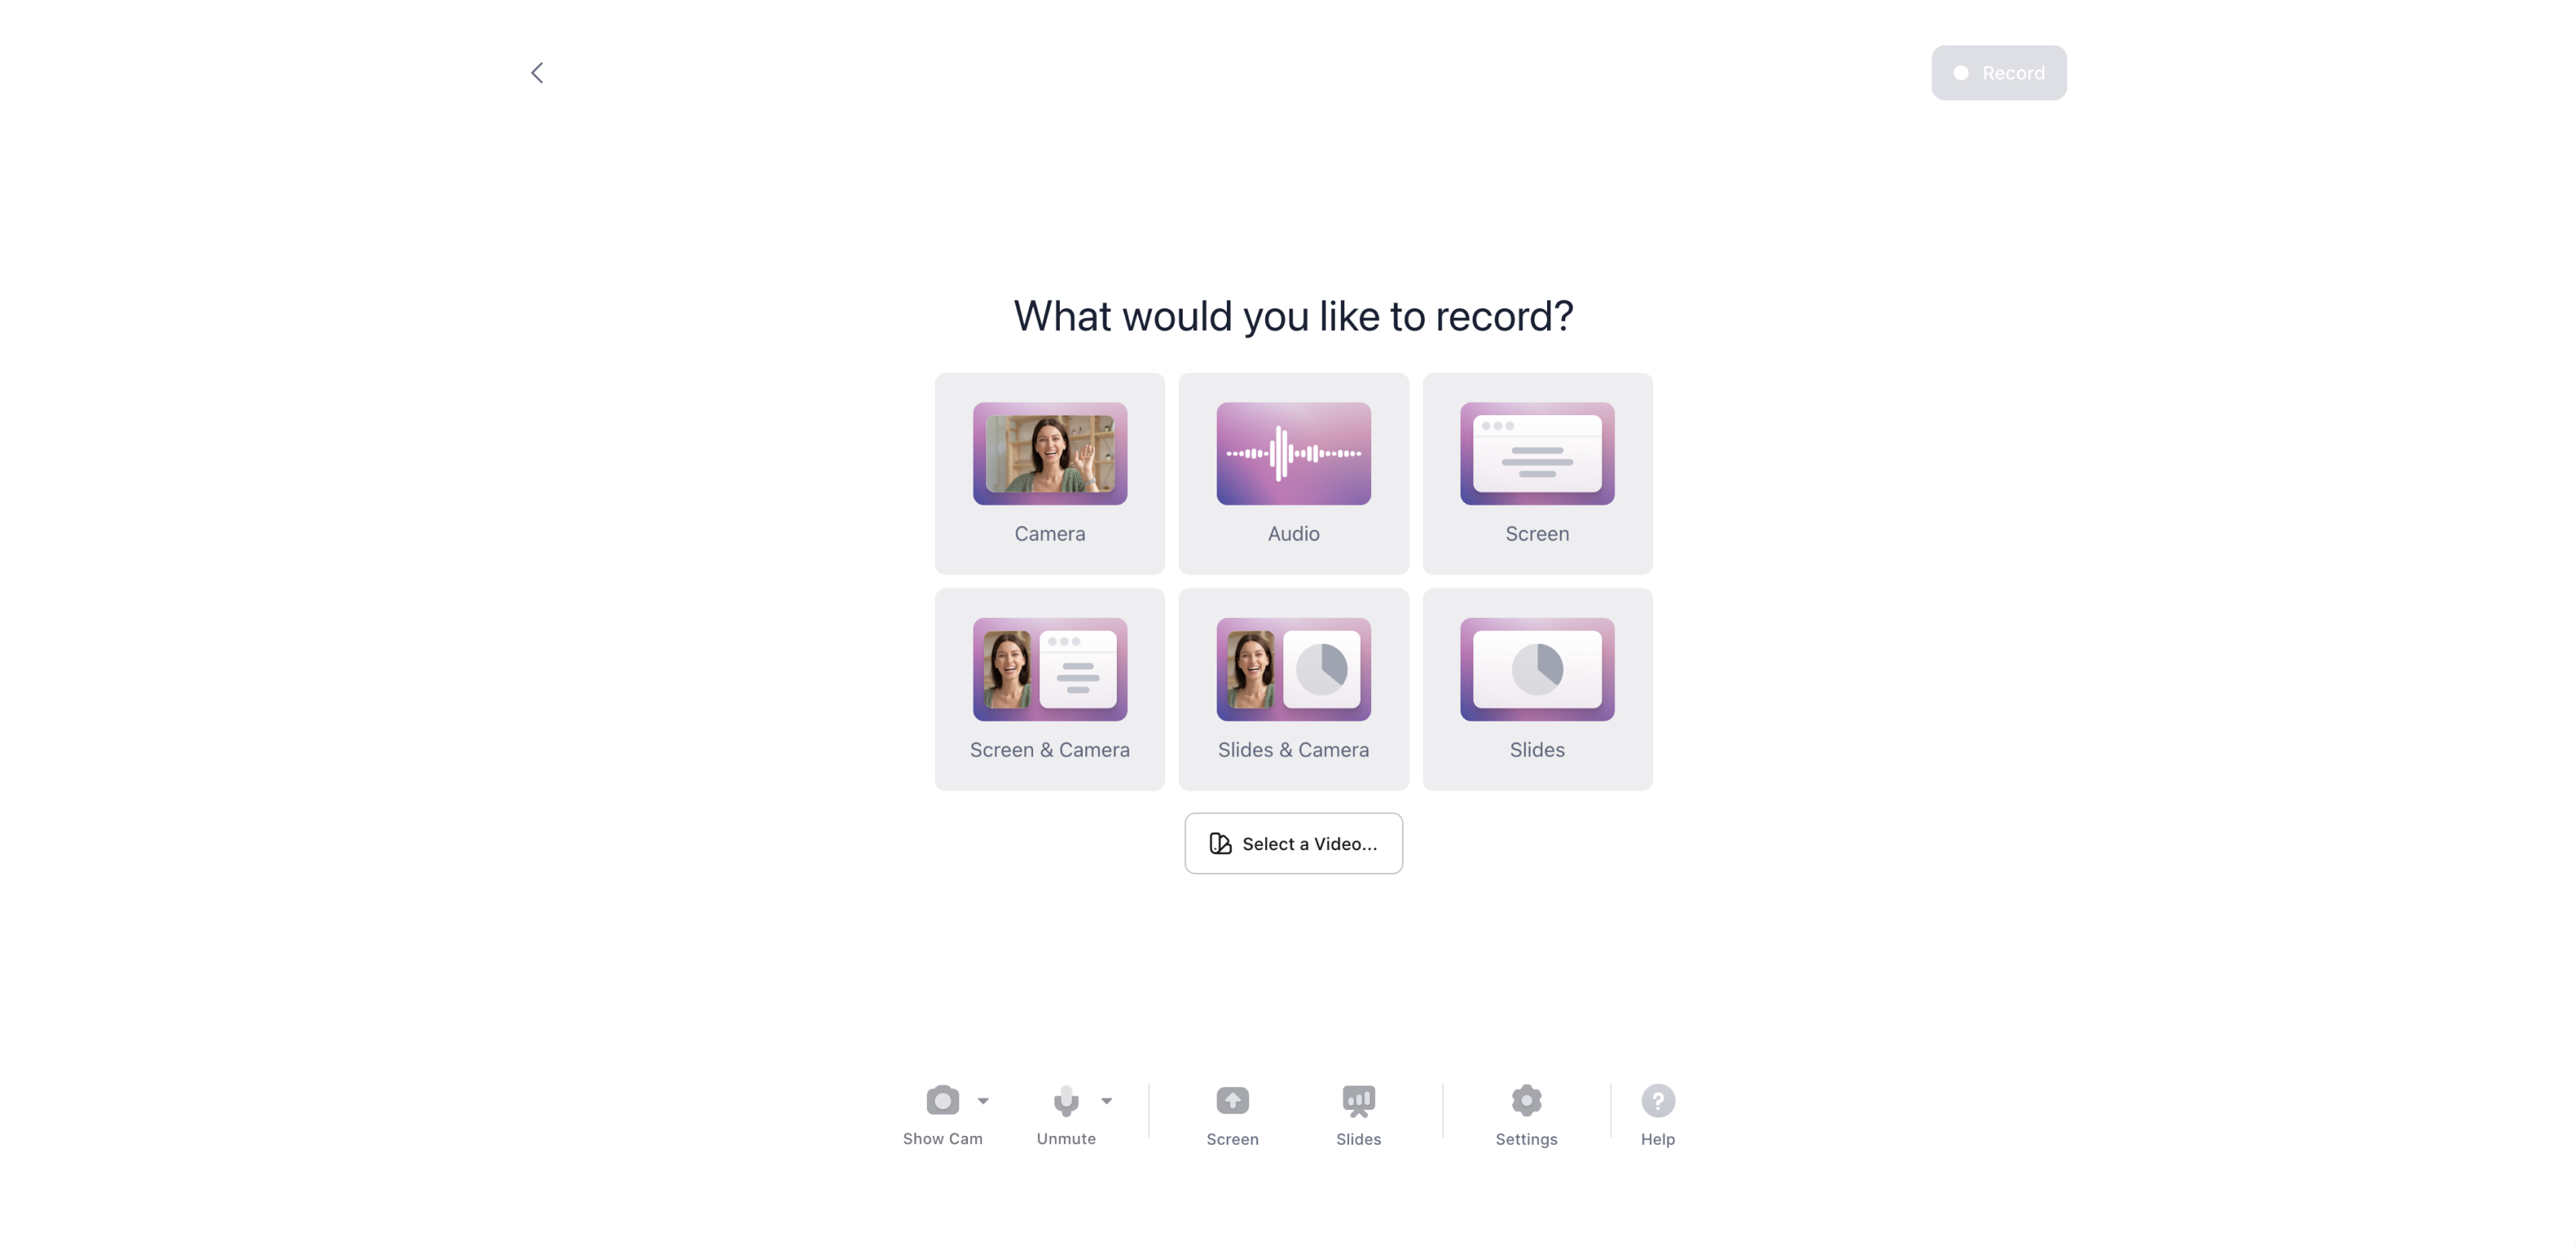
- Click Record to use our screen recorder to record and then our editor to edit.
You can play around different layouts depending on how you want to display your video. You can record only your camera, or your screen and camera, or even slides and camera.

2. Click on Your Video Clip in the Timeline to Open the Edit Video Panel
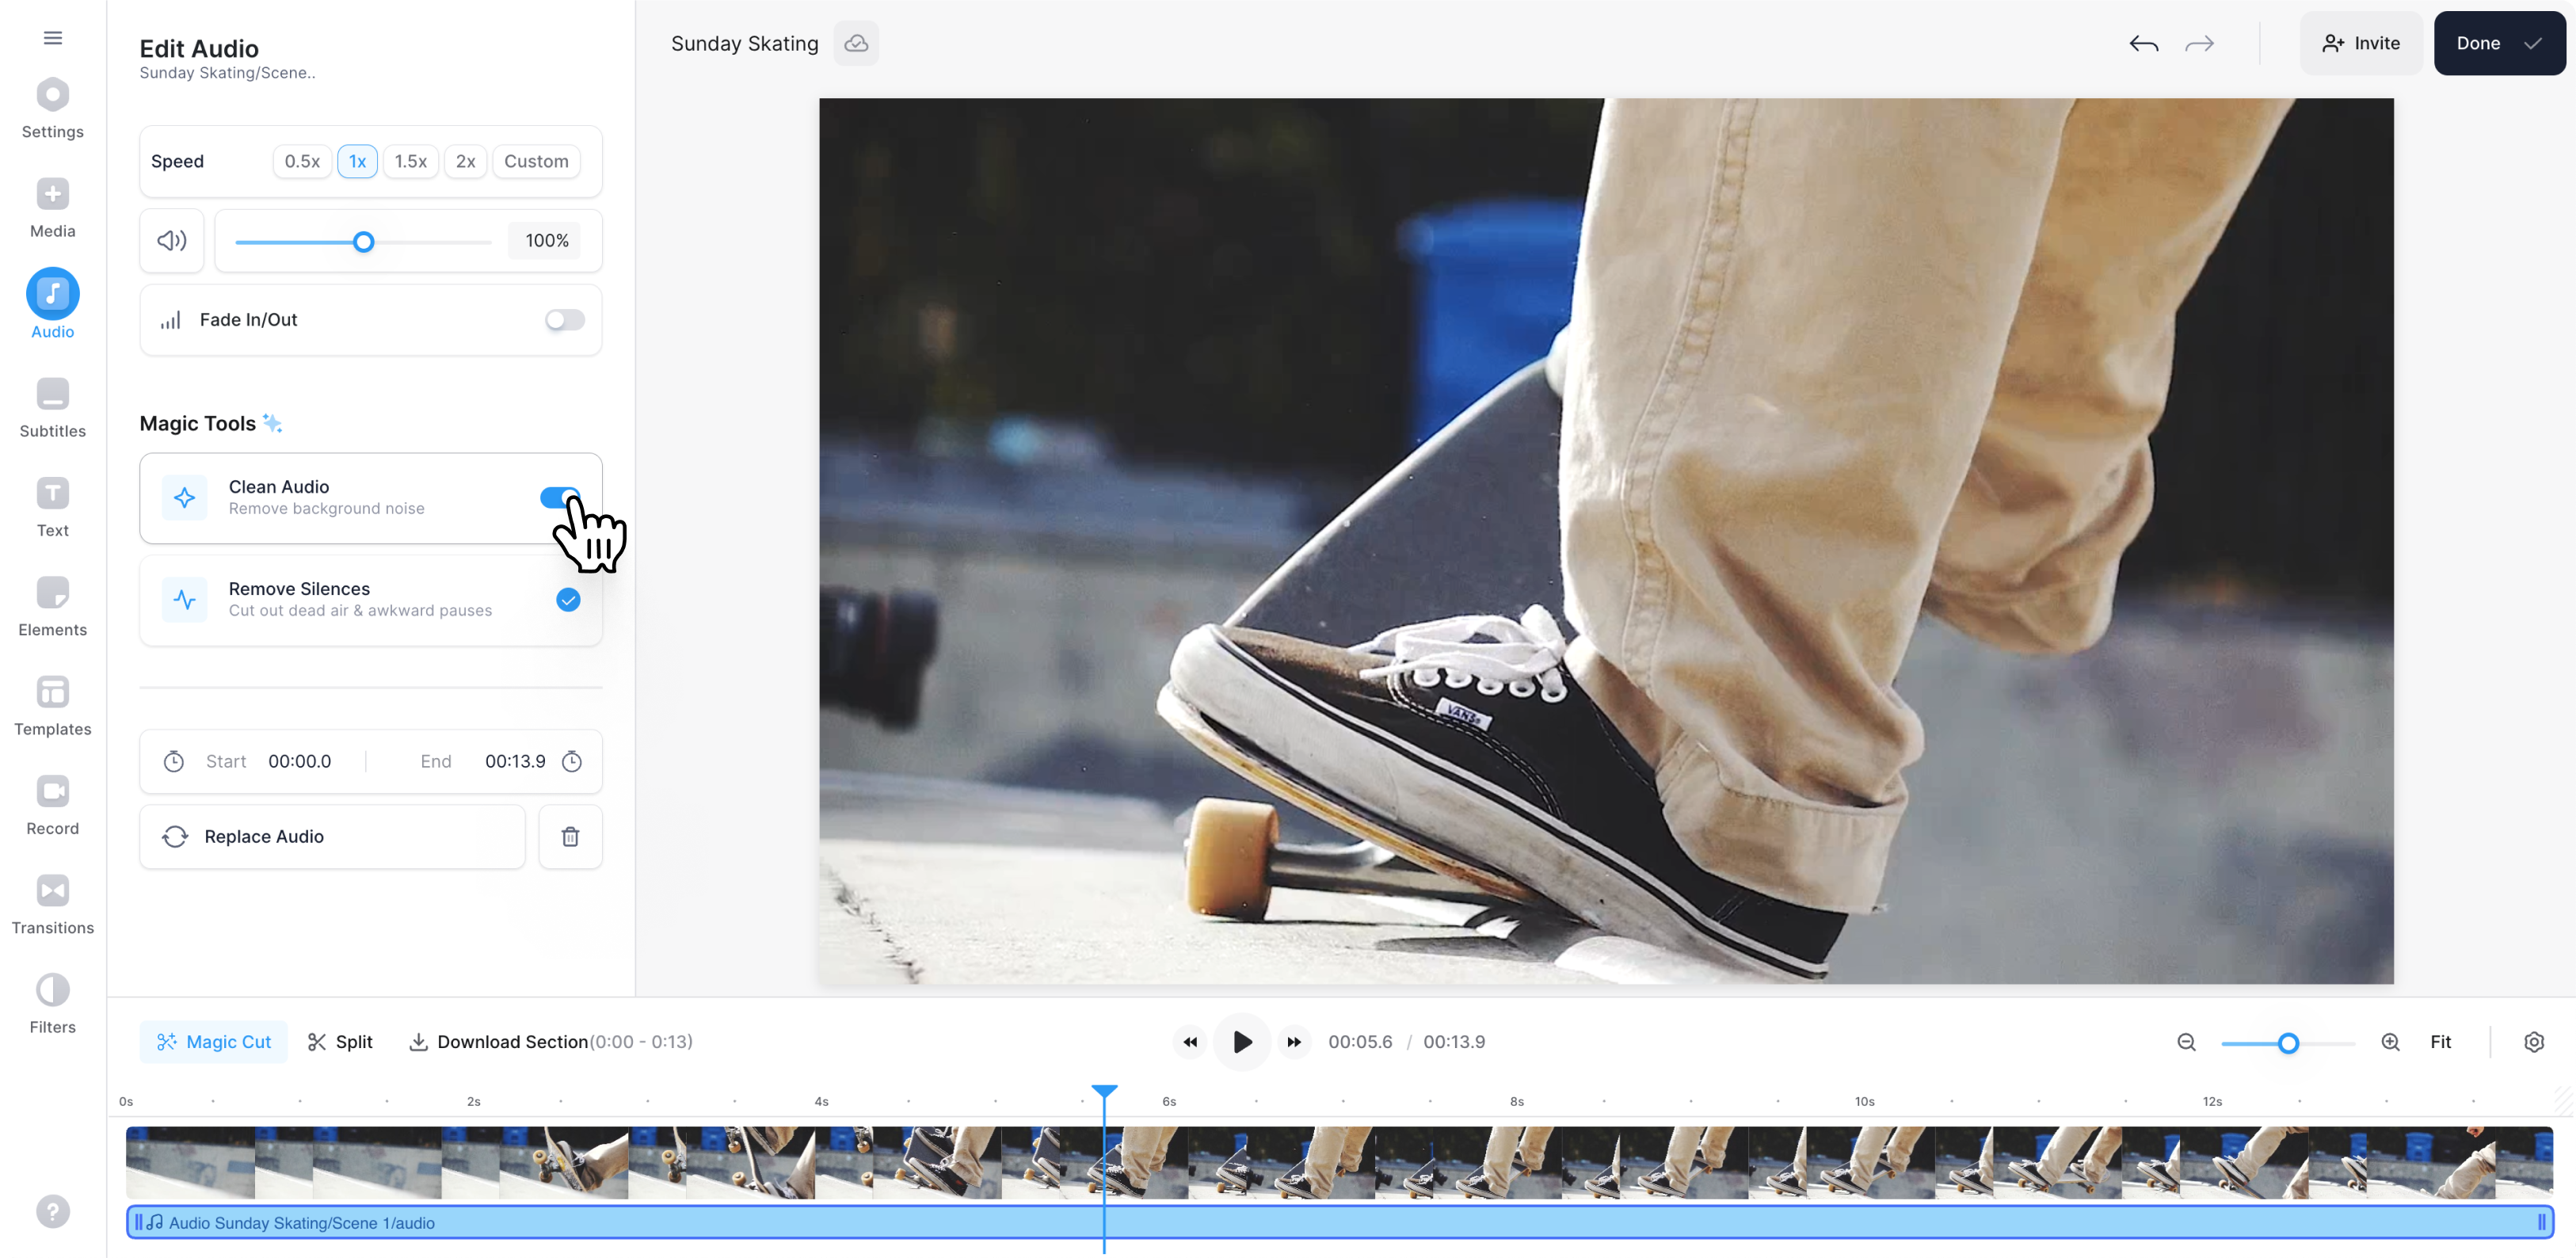
After your video is uploaded in VEED, you’ll see it in the editing dashboard. Click on the video clip you want to clean up audio from in the timeline at the bottom of the screen. This will open a range of editing options on the left hand side of the screen.

3. Click on Clean Audio
Under the Edit Video panel, click on the Clean Audio button under where it says “Magic Tools.”

VEED will now start cleaning audio. Depending on the length of your video, it can take anywhere from a few seconds to a few minutes.
4. (Optional) Edit the Rest of Your Video
To further improve your video’s look and feel, you may choose to continue editing your video on VEED.
VEED is a comprehensive video editor that lets you create, edit, and share videos in one spot. Besides the usual features such as text, audio, effects, transitions, themes, it also offers a range of AI video editing features to help you look better and work faster, such as AI avatars, eye contact correction, and Magic Cut, to name a few.
Let’s take a quick look at some of the things possible with VEED that can make your video production and editing process as smooth and efficient as possible:
- Eye Contact Correction: Correct your gaze with AI and engage your viewers.
- AI Avatars: Feature ultra-realistic digital avatars in your videos — perfect for camera-shy folks.
- Magic Cut: Remove mistakes, filler words, and pauses from your long videos with the click of a button. Save precious hours when you edit your videos.
- Screen and Webcam Recorder: Record your screen (and yourself) with our recorder and edit after if you want.
- Video Template Library: Access to a collection of templates for all major platforms.
- Collaboration Tools: Invite your team to your workspace or get edits from clients with the comments feature. Work more efficiently and increase your team’s productivity.
- Video Sharing: Embed, send, or share your video directly to social platforms.
5. Export and Download
Once you’re happy with your video, it’s time to export. To do this, click on Done in the top-right corner and select a desired quality for your video.
Customize the resolution settings to choose how high or low-resolution you want for your video, or simply choose any of our presets. The default preset is set to HD, but you can export your video in 4K or even select a platform-specific resolution like YouTube 1440p or Hootsuite Twitter.

Once done, click the Export, and VEED will now begin to render your final video with clean audio. On the download screen you can download your video as MP4, MP3, or convert it into a GIF. Alternatively, you can also share your edited video via email, link, or a social post.
Get Clean and Crisp Audio (Even if Your Dog Was Barking in the Back)
Having crisp audio persuades viewers that you’re a professional video creator and helps deliver your message with better context. Instead of re-filming the entire scene where you had some white noise, or buying an expensive editing software, consider using an online video noise reduction tool like VEED that removes unwanted background noise from your video files easily.
VEED’s all-in-one solution puts the power of a professional video editor at your fingertips. It helps you create videos just like your favorite YouTubers or professional podcasters—minus the complicated video equipment or days of editing on end.


