Want to learn how to extract subtitles from your .mkv video in a super quick and easy way? Here’s the perfect tutorial for you.
VEED’s easy-to-use subtitles and video editor allows you to extract subtitles from MKV, automatically transcribe your audio into subtitles, translate them in different languages and download them as either .srt, .vtt, or .txt files!
VEED’s pretty powerful. In this tutorial, you’ll learn how to:
- extract and download subtitles from your .mkv video
- Translate extracted subtitles from MKV to different languages
- Tips for using the subtitles extracted from MKV
Let’s go!
Extracting And Editing MKV Subtitles
1) Go to VEED and upload the .mkv video file you want to extract subtitles from
Note: You can save your projects by signing up to VEED for free.
You can upload the .mkv video file from
- Your folder
- Dropbox
- YouTube
- Google Drive

2) In the left toolbar, go to Subtitles
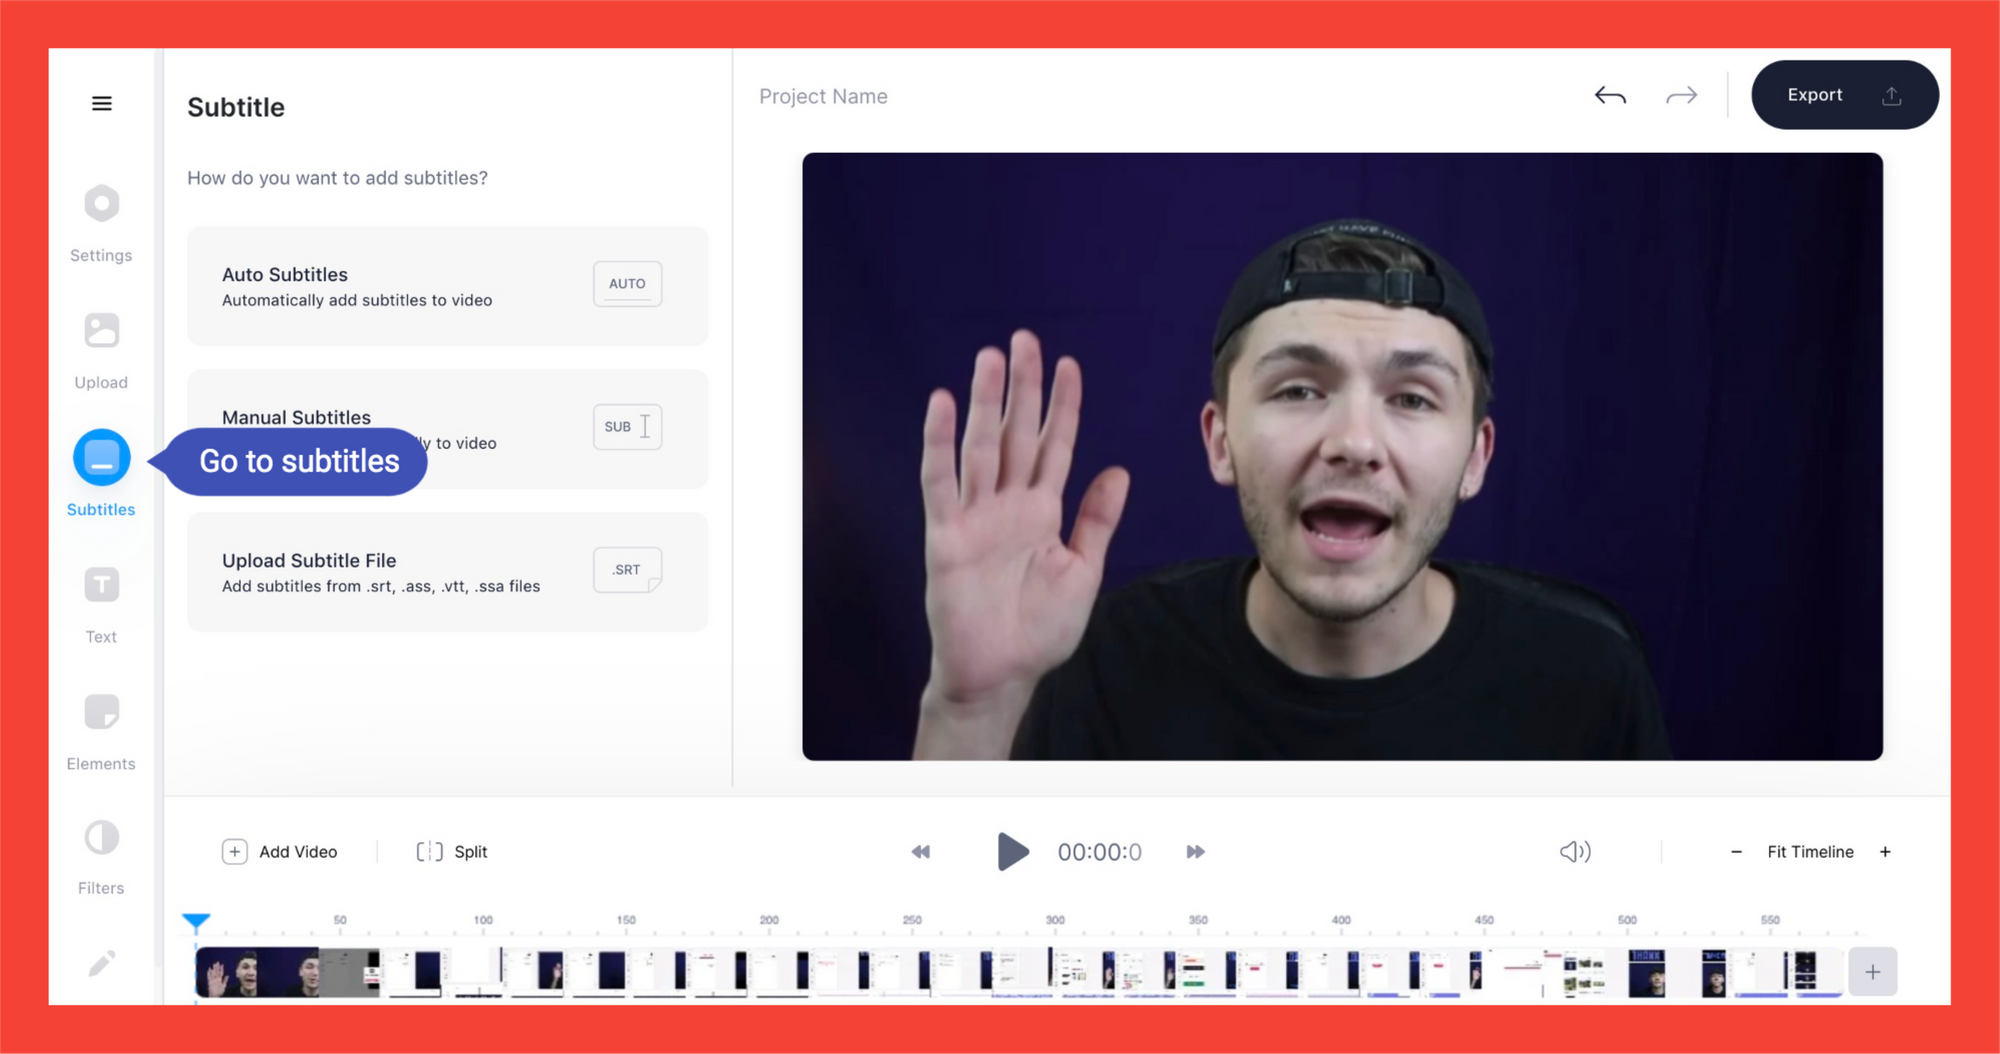
3) Click on Auto Subtitles
This will automatically extract subtitles from your .mkv video.
4) Choose the language and start the extraction!
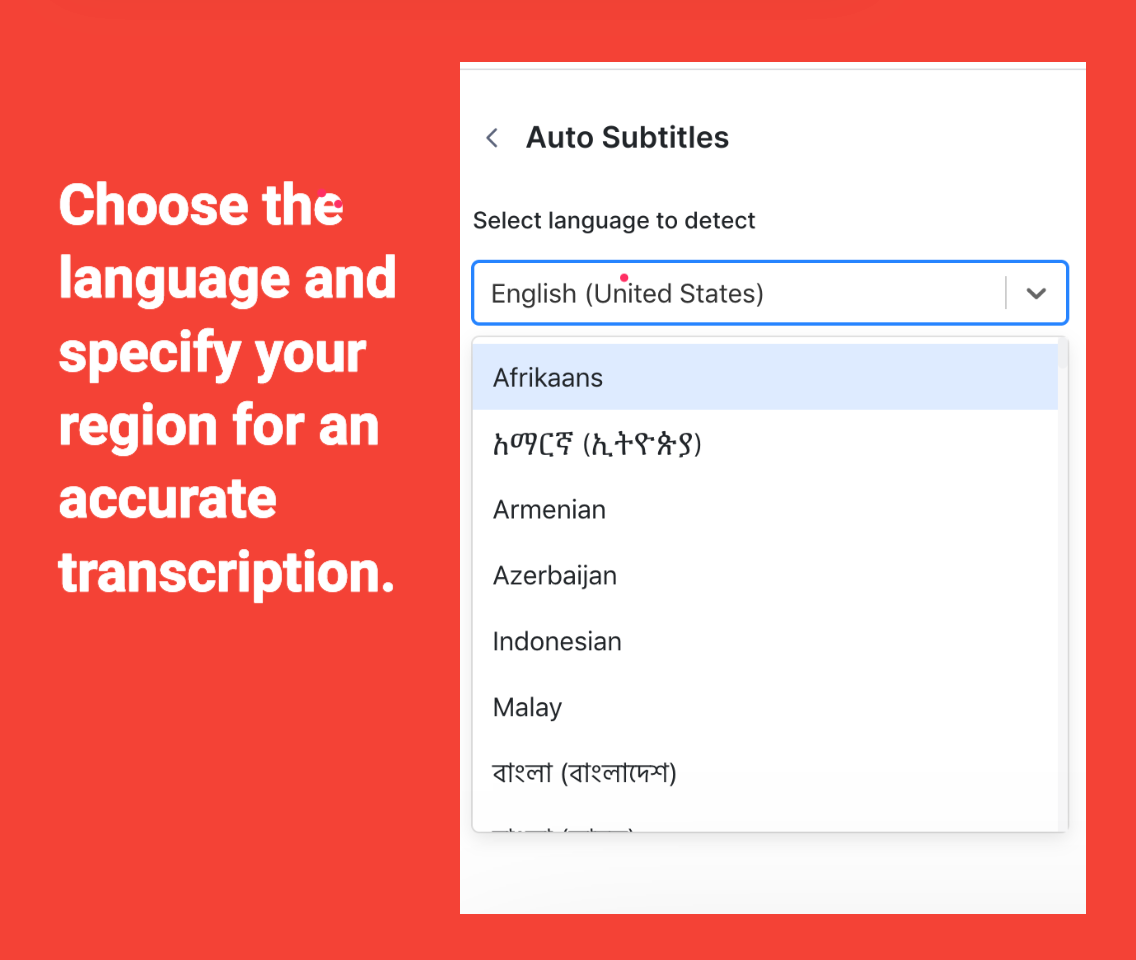
You want to choose the right language and region. The latter is also important because you can have different accents for the same language. For example, US English, in terms of pronouncing words, sounds differently from Australian English.
5a) Go to Options to download the subtitles as either .srt, .vtt, or .txt files.

5b) With the subtitles added into the video and hit Export
And you’re done!
How To Translate Subtitles Extracted from your MKV video To Different Languages
VEED’s subtitle editor is powerful and also allows you to translate the subtitles you’ve extracted from your MKV video to different languages.
This is extra useful, when you have viewers from all over the world watching your videos, especially when there’s a large group of them speaking the same foreign language.
1) Go to Subtitle in the left toolbar.
2) Click on Translate
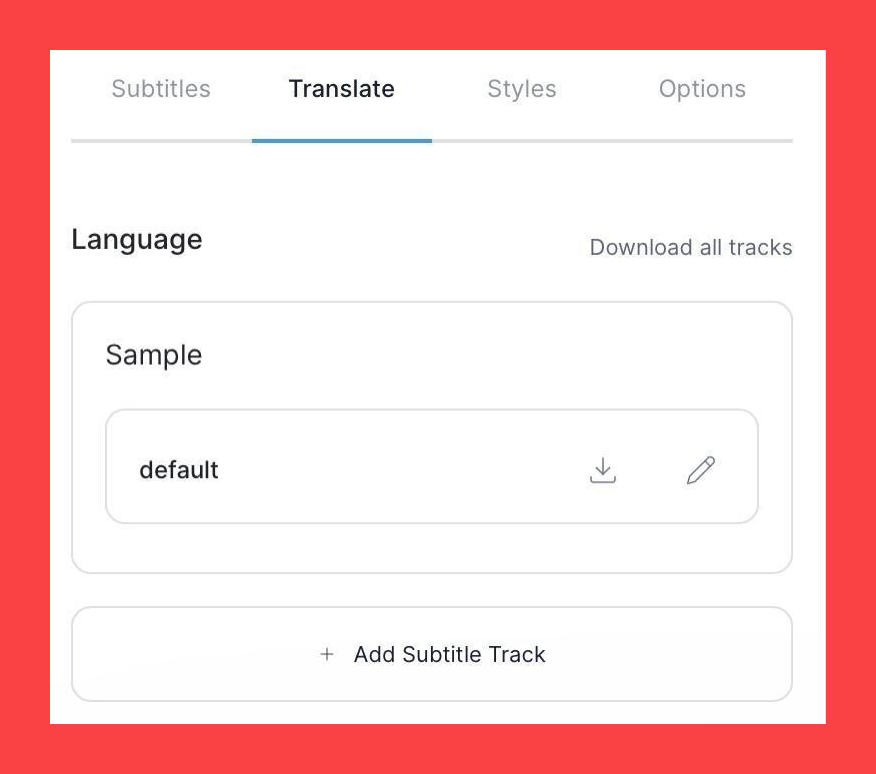
3) Click on Add Subtitle Track
4) Enter the language you want to translate the original content to.
So there are two drop-down fields.
In the left field, choose the language you want to translate the subtitles into.
In the right field, you can either choose to:
- Translate from the original language. For this tutorial, choose this option.
- Translate from a subtitle file.
5) Hit Create
6) Click on Edit to activate that subtitle for your video
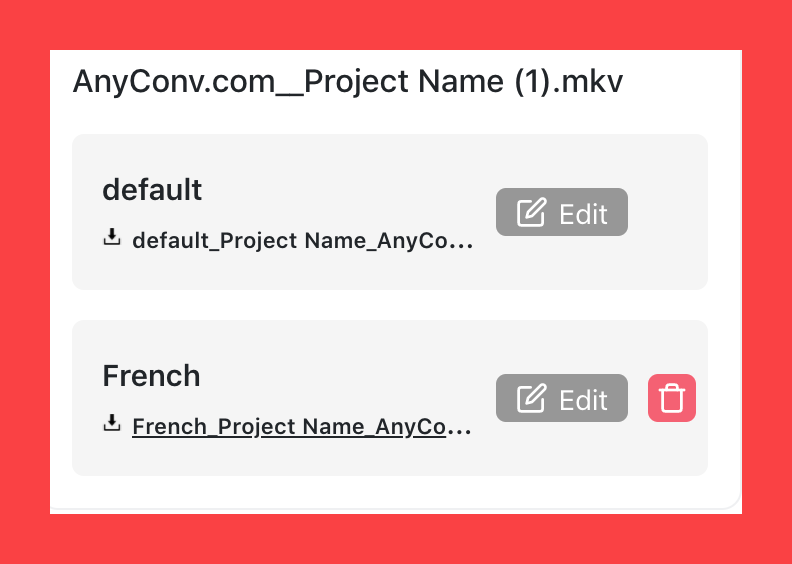
7a) Under Options, download the translated subtitled extracted from MKV
7b) Hit Export to download the video with the chosen (translated) subtitles hardcoded into the MKV video.
Some Tips On Subtitles Extracted From MKV
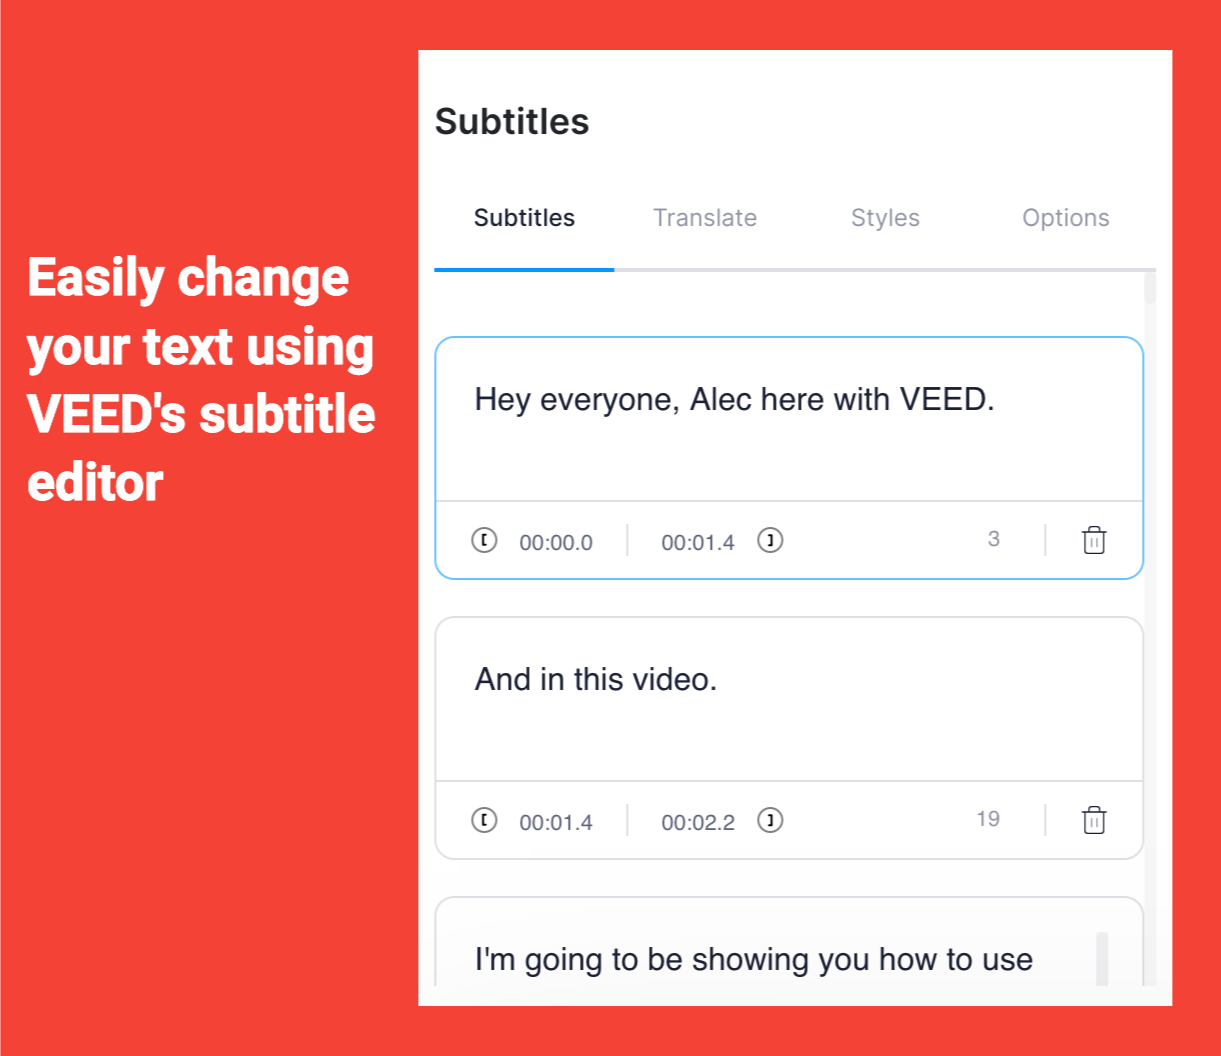
1) You can edit the subtitles in the editor
Automatic transcription can help you save a lot of time and money previously spent on manual transcription services, but it has its limitations.
In particular, if the audio quality is bad or if the words weren’t pronounced clearly, then the automatically extracted subtitles from your MKV videos may not be 100% accurate (it should be mostly accurate).
Of course, you’re going to have to change specific brand names that are hard to properly automatically transcribe.
In this case, just edit some of the subtitles with the editor.
2) Change the styles of your subtitles

Under Styles, you can change the typeface, the font color, font size, letter spacing and line-height to make them appear more visible in the video, or to better fit your visual branding guidelines.
You can also play a bit with the capitalization… although, I suggest keeping the sentence format, because the title case might disrupt the viewing experience if people have to stop and read every capitalized letter.
4) Upload your subtitles separately on YouTube, Facebook and LinkedIn to boost reach and engagement
According to recent research, YouTube analyzes your video content by reading the subtitles uploaded as .srt or .vtt files to the platforms.
Helping your video content rank faster and better, this allows you to get regular organic search traffic and therefore get more viewers.
In other words, just merely uploading subtitles for your YouTube video can help you get more viewers! And if the same principle applies to LinkedIn’s and Facebook’s algorithms, you should also upload the subtitles in your videos as separate files!
And, of course, adding subtitles makes your video more accessible to those who are hard of hearing or just like watching videos on mute. Therefore, you’d be reaching more viewers!
5) Translate your subtitles in different languages
Translating your subtitles extracted from mkv in different languages is a great way to attract more viewers internationally.
Moreover, if you have many viewers that speak the same foreign language, then adding their language as a subtitle option is a nice way to show your gratitude for having them as an audience.
6) Download as .txt for note-taking
Finally, if you want to automatically extract subtitles from your MKV for research purposes, downloading them as .txt files for taking notes might be a good option.
Once downloaded, you just need to open the file with a text editor and classify the notes in whatever way you want.
This is good for researchers that need quotes from a certain video (or just want to get study notes from a topic in a video) and interviewers wanting to convert the video content into an article.
VEED Is So Much More Powerful Than For Extracting Subtitles From MKV
In this quick tutorial, you’ve learned how to automatically extract subtitles from your MKV video files and to translate them for various purposes.
But of course, VEED is so much more powerful than for extracting subtitles from your MKV video files.
Join audio files together, transcribe all of them, add sound effects, music tracks, and more. Create explainer videos and YouTube videos… even use our Screen Recorder. It's pretty great.
If you want more guides like this, read our blog and follow us on YouTube and Instagram! Later.


![Twitter's Video Limit: Best Video Size, Length, & More [Cheat Sheet]](https://cdn.prod.website-files.com/616e938268c8f0a92cb2b540/616e938268c8f07573b2c21d_Twitter-video-limit-guide.png)